Gaming on a personal computer (PC) offers a wide range of possibilities, but sometimes, nothing beats the familiarity and comfort of using a controller. If you’re an Xbox enthusiast, you’ll be pleased to know that connecting your Xbox controller to your PC is a straightforward process. In this article, we’ll walk you through the steps required to connect an Xbox controller to your PC, allowing you to enjoy your favorite games with the control scheme you prefer.
Step 1: Ensure Compatibility
Before proceeding, it’s important to verify the compatibility of your Xbox controller with your PC. Typically, Xbox One and Xbox Series X/S controllers are compatible with Windows 10 and 11 operating systems. However, if you’re using an older controller or a different Windows version, you may need to download additional drivers. Visit the official Xbox support website to check compatibility and obtain the necessary software, if needed.
Step 2: Choose a Connection Method
Xbox controllers can be connected to PCs in two primary ways: wired and wireless. Depending on your preferences and the availability of accessories, choose the most suitable method for your setup.
A. Wired Connection:
- Connect your Xbox controller to your PC using a micro-USB cable. Plug one end of the cable into the USB port on your PC and the other end into the micro-USB port on the top of your Xbox controller.
B. Wireless Connection:
- Ensure your PC has a built-in Bluetooth adapter or a compatible USB Bluetooth dongle.
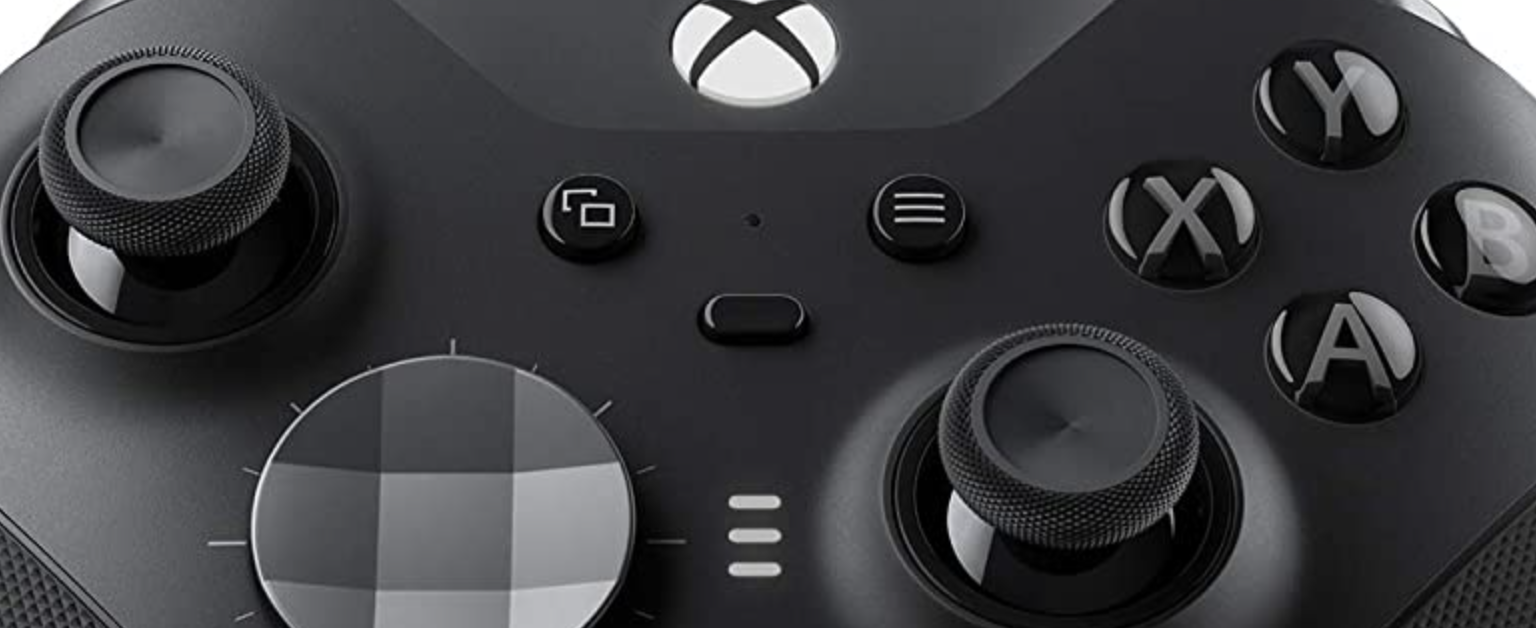
- On your Xbox controller, press and hold the Xbox button to turn it on.
- Locate the small wireless connection button on the top edge of your controller, near the USB port.
- Press and hold the wireless connection button until the Xbox logo starts flashing rapidly.
- On your PC, open the Bluetooth settings menu. In Windows 10, you can access it by clicking the Start button, selecting Settings, and then choosing Devices > Bluetooth & other devices.
- Click on “Add Bluetooth or other device” and select the “Bluetooth” option.
- Windows will scan for available devices. When you see “Xbox Wireless Controller” in the list, click on it to establish the connection.

Step 3: Controller Configuration (Optional)
Once your Xbox controller is connected to your PC, you may want to customize its settings or check its functionality. Microsoft provides the “Xbox Accessories” app, which can be downloaded from the Microsoft Store, for this purpose. The app allows you to remap buttons, adjust trigger sensitivity, and update your controller’s firmware.
Step 4: Test and Enjoy
With your Xbox controller successfully connected to your PC, it’s time to test it out! Launch your favorite game or gaming platform, and the controller should be recognized automatically. You can navigate the game’s menus, configure control options, and start playing with the familiar Xbox layout.
Conclusion:
Connecting an Xbox controller to your PC opens up a world of gaming possibilities, offering a more immersive and comfortable experience. Whether you prefer a wired or wireless connection, the process is relatively simple and can be completed in just a few steps. By following the guidelines outlined in this article, you’ll be able to enjoy your PC gaming sessions using your preferred Xbox controller. So, grab your controller, connect it to your PC, and dive into the gaming adventure that awaits! Oh, and don’t forget to choose a proper headset for gaming.
Disclaimer: as an Amazon Associate I earn from qualifying purchases.