The Raspberry Pi, a small yet powerful single-board computer, has gained immense popularity among tech enthusiasts and DIY enthusiasts alike. One of its many exciting applications is creating a Network Attached Storage (NAS) system, which allows you to centralize and access your files from anywhere within your home network. In this article, we will guide you through the process of setting up a Raspberry Pi NAS using OpenMediaVault, an open-source NAS operating system.
What You’ll Need
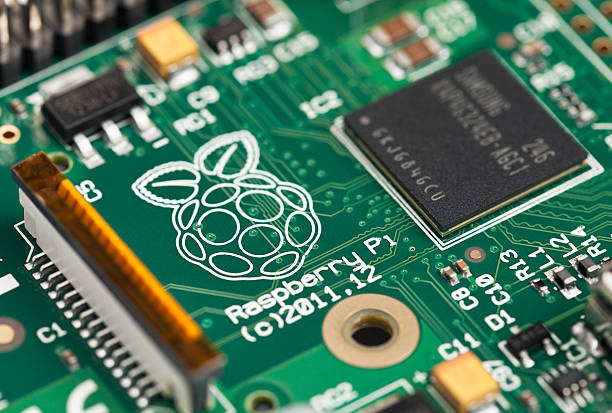
- Raspberry Pi (preferably a Raspberry Pi 4 for better performance)
- MicroSD card (16GB or higher)
- Power supply for the Raspberry Pi
- Ethernet cable for network connectivity
- External hard drive(s) or USB storage device(s)
Step 1
Prepare the Raspberry Pi: Start by downloading the latest version of OpenMediaVault (OMV) for the Raspberry Pi from the official website. Once downloaded, flash the OMV image onto the microSD card using a tool like Etcher. Insert the microSD card into the Raspberry Pi and power it up.
Step 2
Initial Configuration: After the Raspberry Pi boots up with OMV, access the web interface by entering its IP address in a browser on another device connected to the same network. Follow the on-screen instructions to set up a username, password, and other basic configurations. Make sure to remember your login credentials for future access.
Step 3
Configure Storage: Connect your external hard drive(s) or USB storage device(s) to the Raspberry Pi. In the OMV web interface, navigate to the “Storage” section and click on “Disks.” Here, you should see the connected storage devices listed. Select each disk and click “Mount” to make them available for use.
Step 4
Create File Systems and Shared Folders: Next, click on the “File Systems” tab within the “Storage” section. Select each mounted disk and click “Create” to generate a file system on the disk. Once the file systems are created, proceed to the “Shared Folders” tab and create shared folders on the mounted disks. These folders will be accessible on your network.
Step 5
Set Up User Accounts and Permissions: In the “Access Rights Management” section of the OMV web interface, create user accounts with appropriate access permissions for your shared folders. Assign read-only or read-write permissions as needed. This step ensures secure access to the NAS and allows you to control who can access the shared folders.
Step 6
Enable Services: OMV offers a range of additional services such as FTP, SSH, and more. Enable the services you require based on your needs. These services will enhance the functionality and accessibility of your NAS.
Step 7
Optional: Configure Remote Access and Dynamic DNS: To access your NAS remotely, you can set up port forwarding on your router. Additionally, you may want to consider configuring Dynamic DNS (DDNS) to map your changing IP address to a domain name. This allows you to access your NAS using a consistent web address.
By following these steps, you can transform your Raspberry Pi into a capable NAS using the power of OpenMediaVault. This setup allows you to centralize your files, access them from anywhere within your home network, and even remotely if desired. Experiment with additional features and plugins offered by OpenMediaVault to further enhance the functionality of your NAS. Enjoy the benefits of a personalized and cost-effective storage solution that is tailored to your needs!
Disclaimer: as an Amazon Associate I earn from qualifying purchases.