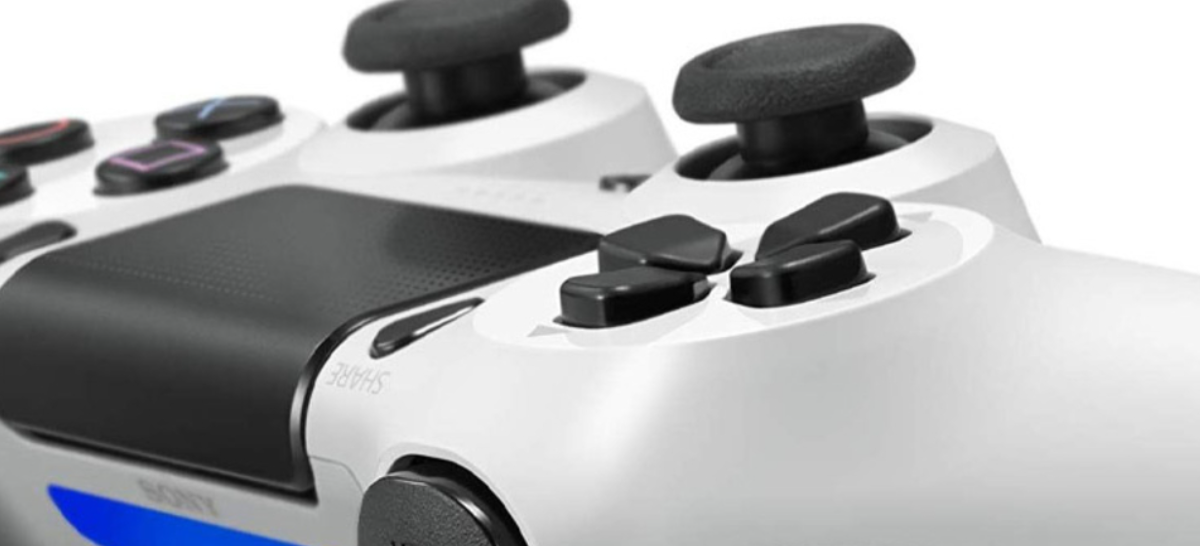
As gaming has become increasingly popular, many gamers are now looking for ways to play their favorite games on a variety of platforms, including their PCs. The PS4 Dualshock 4 controller is a popular choice for gamers, thanks to its comfortable design and advanced features. Fortunately, pairing your PS4 Dualshock 4 controller to your PC is a simple process, and with the help of DS4Windows software, you can use your controller to play games on your PC. In this guide, we’ll take you through the step-by-step process to pair your PS4 Dualshock 4 controller to your PC, so you can start enjoying your favorite games on your computer.
Step 1: Install the DS4Windows Software
The first thing you’ll need to do to pair your Dualshock 4 to PC is download and install the DS4Windows software. This software allows you to use your PS4 controller on your PC.
You can download DS4Windows from the official website: https://ryochan7.github.io/ds4windows-site/
Once you’ve downloaded the software, run the installer and follow the on-screen instructions to install it on your PC.
Step 2: Connect the PS4 Controller to your PC
To connect your PS4 controller to your PC, you’ll need to use a micro USB cable. Plug one end of the cable into your controller, and the other end into an available USB port on your PC.
Once you’ve connected the controller, Windows should automatically install any necessary drivers. If Windows doesn’t automatically install the drivers, you may need to manually install them by following the on-screen prompts.
Step 3: Open DS4Windows
Once you’ve installed DS4Windows and connected your controller to your PC, you’re ready to open the software.
To open DS4Windows, go to your Start menu and type “DS4Windows” in the search bar. Then, click on the DS4Windows icon that appears.
Step 4: Configure DS4Windows
Before you can use your PS4 controller on your PC, you’ll need to configure DS4Windows.
To configure DS4Windows, follow these steps:
- Click on the “Settings” tab in the DS4Windows window.
- Under the “Controller” tab, select “Dualshock 4” as your controller type.
- Under the “Hide DS4 Controller” option, select the box that says “Hide DS4 Controller”.
- Under the “Bluetooth” tab, select the box that says “Enable Bluetooth”.
- Click on the “Pair Controller” button.
Step 5: Pair your PS4 Controller
To pair your PS4 controller with your PC, follow these steps:
- Press and hold the PS button and the Share button on your PS4 controller at the same time until the light on the controller starts flashing.
- In the DS4Windows window, click on the “Pair Controller” button.
- Wait for DS4Windows to find your controller. Once it does, click on the “Wireless Controller” option.
- Your PS4 controller should now be paired with your PC.
Step 6: Test your PS4 Controller
To test your PS4 controller to make sure it’s working properly, follow these steps:
- Open the “Devices and Printers” window on your PC.
- Find the “Wireless Controller” option and right-click on it.
- Select “Game Controller Settings” from the menu.
- Click on the “Properties” button.
- Test your PS4 controller by pressing the buttons and moving the joysticks. You should see the corresponding buttons and joysticks move on the screen.
Congratulations, you’ve successfully paired your PS4 Dualshock 4 controller to your PC! You can now use it to play games and control your PC.
Disclaimer: as an Amazon Associate I earn from qualifying purchases.

